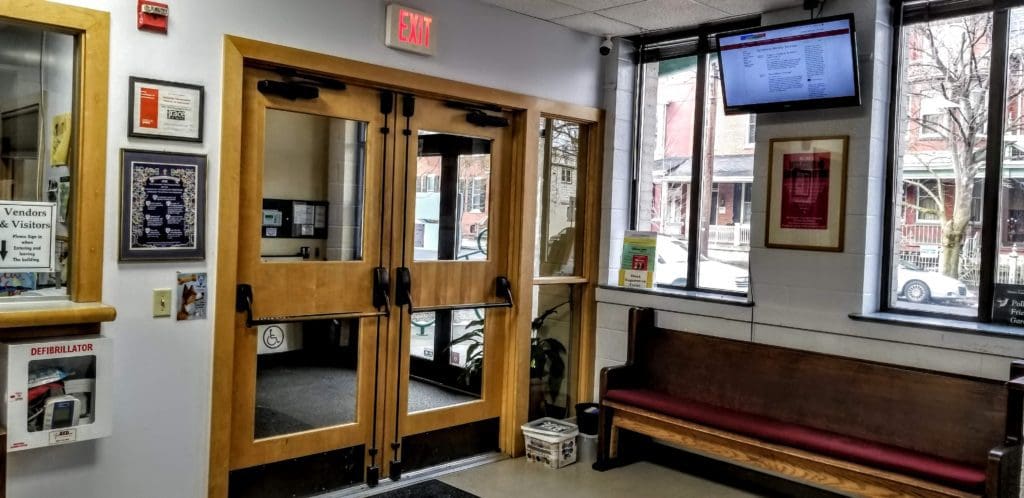
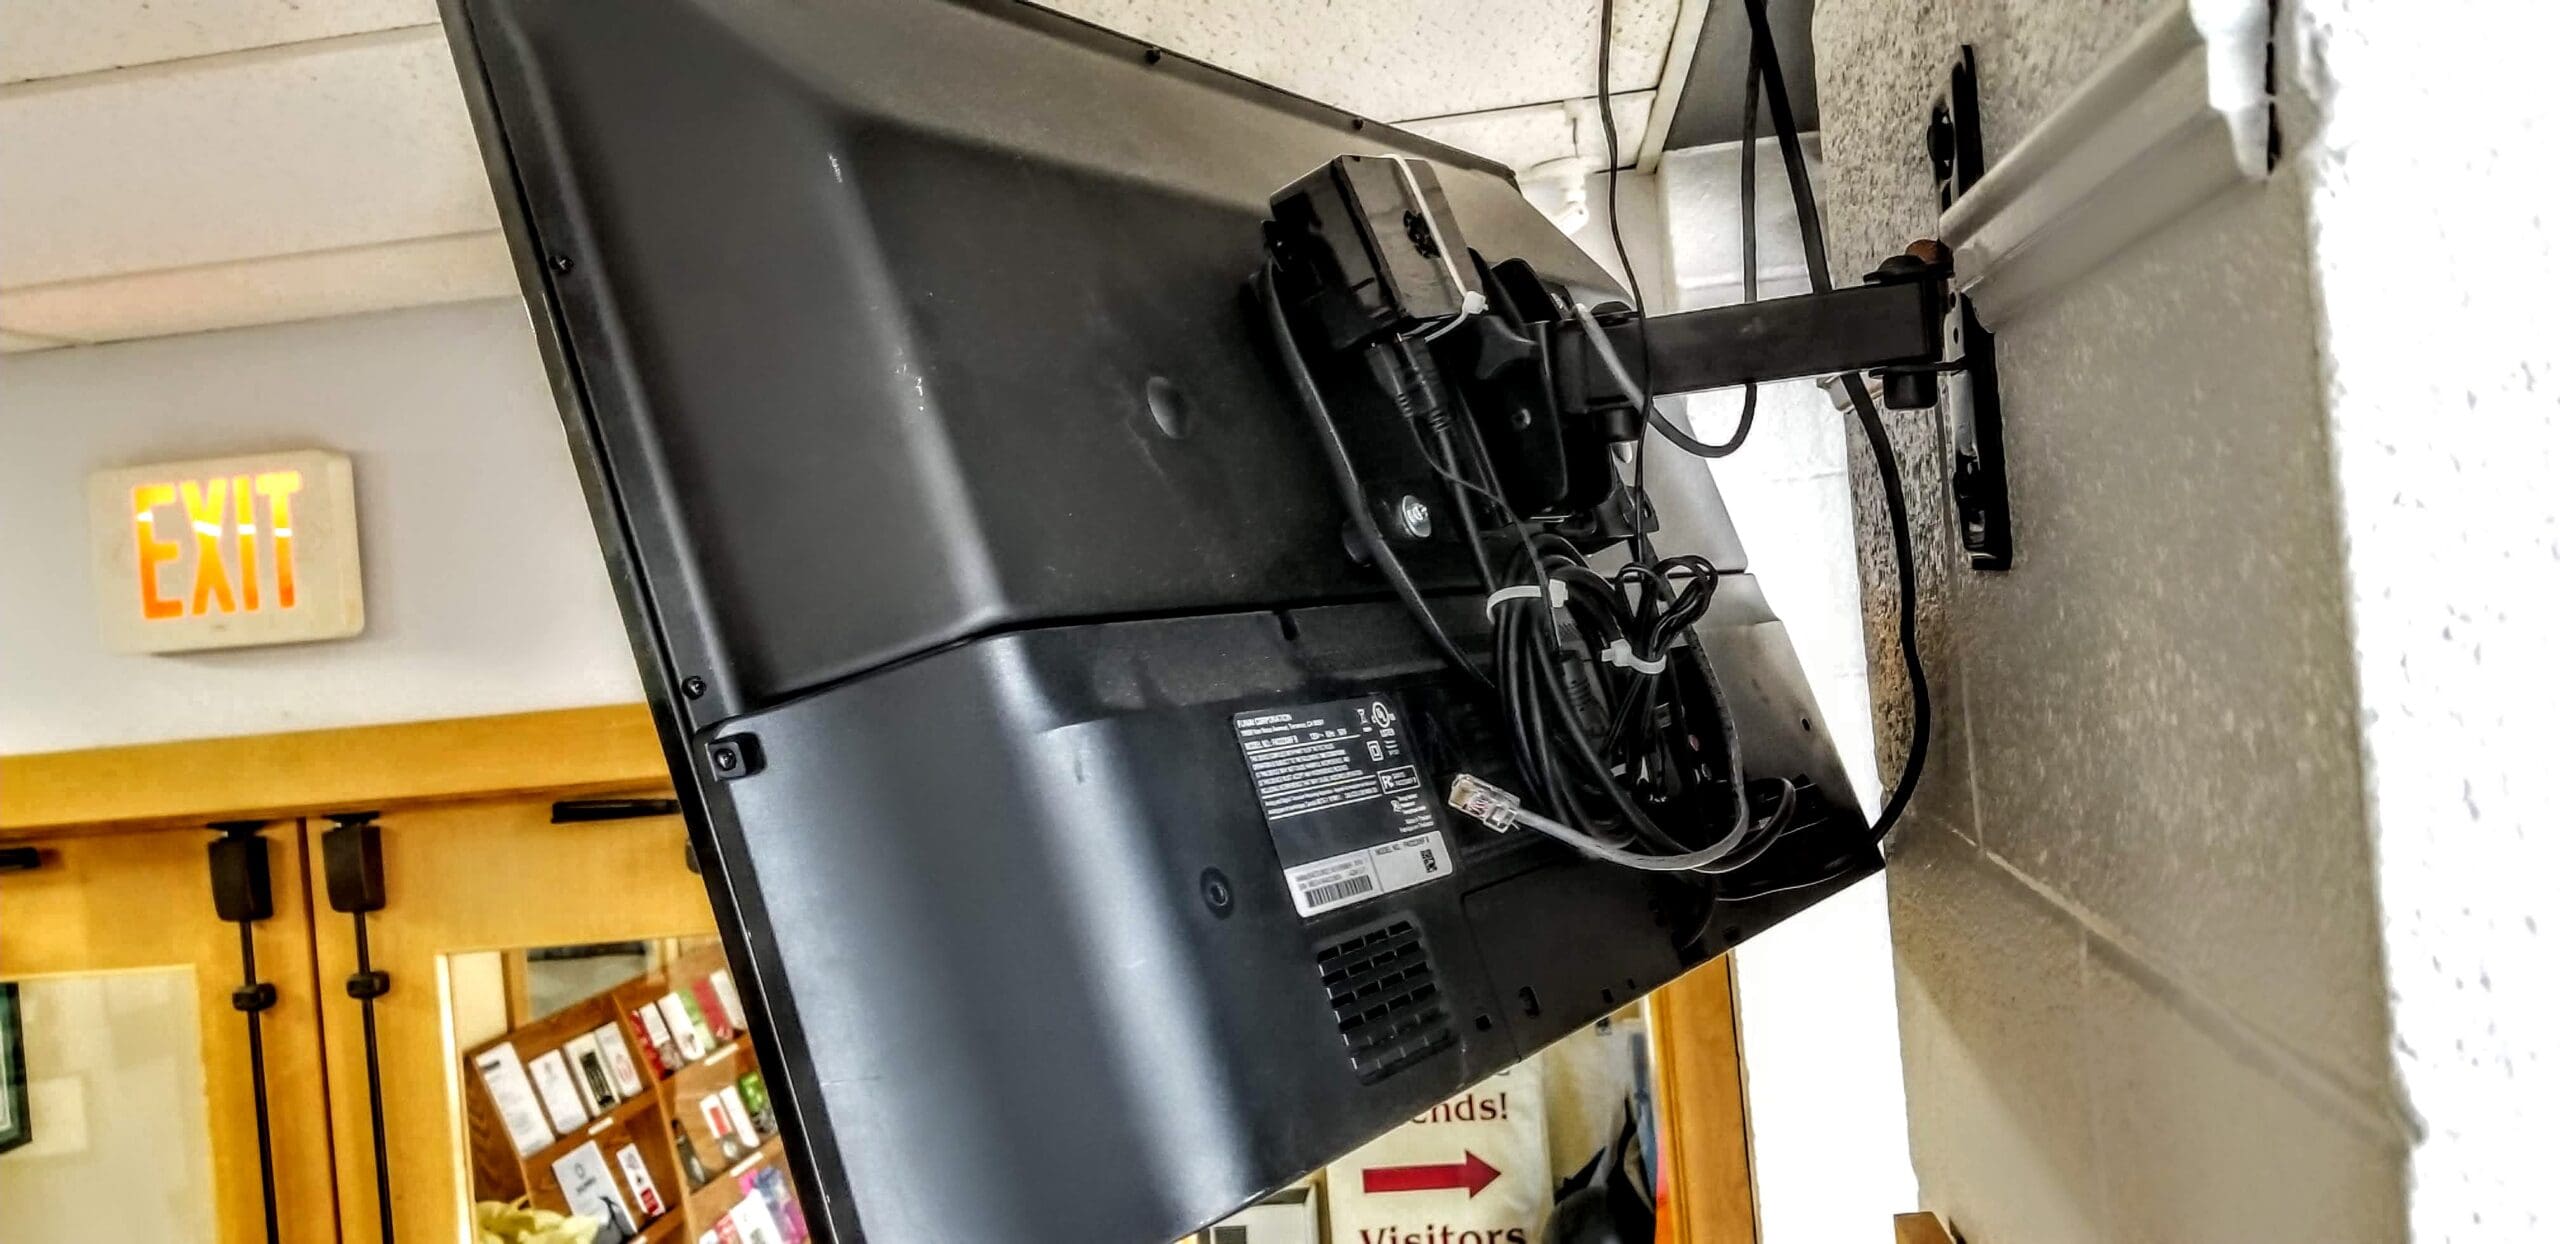
Here is a cheap solution for digital signage, which I have set up in the foyer of my church.

The concept is to use a WordPress site to deliver various pages and posts to a Raspberry Pi running minimalkioskOS, which displays the web sites on a monitor. Then you can edit the pages in WordPress, and the new and changed content displays on the monitor.
First, Get yourself a Raspberry Pi 3 B+. Something like this Cana Kit for $50 USD should work.
Install minimalkioskOS on your Pi. This solution has been tested and used with version 0.4.2
In the meantime, get yourself a WordPress website, which might be free, or cost you a few bucks. I’m frugal, and use NameCheap for play-around sites.
Set up your WordPress website, the install the free Redirection plugin.
Now create a few pages or posts that you want to display on your digital signage. For example:
- A page to shop Announcements
- A post to display Special Events
On your WordPress site, make some more posts or pages with only a title (no content needed), and call them something like:
- Sign_01
- Sign_02
- Sign_03
Now use the redirection plugin to redirect your WordPress pages or posts from the static “sign” urls, to more dynamic content.. Something like this:
- Sign_01 -> An Announcements page in your WordPress
- Sign_02 -> Special Events – could be a post in your WordPress
- Sign_03 -> http://weather.com
Finally, return to minimalkioskOS on your Raspberry Pi, set it up and have the sign cycle through the websites Sign_01, Sign_02 and Sign_03. It will display those websites, which are actually redirected to websites with content of your choice (Announcements, events, other websites etc). This is all handled in the boot/urls.txt file in minimalkioskOS. Instructions below.
You are good to go! Now all your signage editing and updating can be done in WordPress. You can edit the pages that the Sign_xx pages/posts redirect to, or you can redirect them to completely different urls.
You can keep the sign up-to-date by editing the redirection and redirected urls. You don’t need to ssh in to minimalkioskOS and change the sign urls.
I realize these instructions are ridiculously obtuse. I will try to improve them eventually.
Here are some instructions specifically for what you need to do on the Pi:
MinimalkioskOS Instructions.
Install on Pi. [use Etcher to flash a microSD card for your Pi]
Boot up Pi with keyboard attached physically.
Ctrl-Alt-F1 [to get to terminal]
[username:password = pi:raspberry]
cd / [to go back to root]
cd boot [to go in to boot folder]
ls [just to list the folder contents, to be sure]
sudo rm autosecure [removes the random password creator for pi user]
passwd [to change the pi password. Sometimes seems to take multiple tries to stick]
sudo touch ssh [makes the ssh file, so now you can use putty to ssh in to edit these files]
sudo nano urls.txt [add your urls here. Ctrl-x to save and exit]
example:
https://cnn.com 10 [watch cnn.com for 10 seconds]
https://alanrjacobs.com 25 [watch alanrjacobs.com for 25 seconds. time you’ll never get back]
sudo nano minimalkioskos-wpa-supplicant.txt [to set up your wifi, if using wifi. edit this file according to the instructions in the file, to attach to your wifi. Ctrl-x to exit and save] Here is a sample network:
# WPA/WPA2 secured
network={
ssid=”UUCL”
psk=”42B3045119″
}
More than one SSID can be added.
Then you should be good to go. Restart your Pi with the “sudo reboot” command, then use a tool such as Fing on your phone to identify the Pi IP address, then use Putty to ssh in and edit the files in the boot folder as needed.
For my display to work, these are the uncommented lines in config.txt:
disable_overscan=1
config_hdmi_boost=4
See this for more: https://www.raspberrypi.org/documentation/configuration/config-txt/video.md
Here are some other useful linux commands:
- ifconfig [shows the IP configuration]
- sudo shutdown now [shuts down immediately]
- sudo shutdown -r now [restarts immediately]
- cd .. [goes back one folder]
And remember that Linux is totally case sensitive for all commands and file and folder names.

